Generate Prompt

Photo to realistic miniature person on desk

Compare a source portrait with a generated realistic tiny person standing on a desk beside everyday objects with shadows and shallow depth of field.

This before/after test shows how a normal uploaded person photo can become a realistic miniature version standing on a desk. The improved prompt preserves the face and outfit while using everyday objects, scale contrast, contact shadows, shallow depth of field, and playful behind-the-scenes photography to make the result feel tiny and believable.
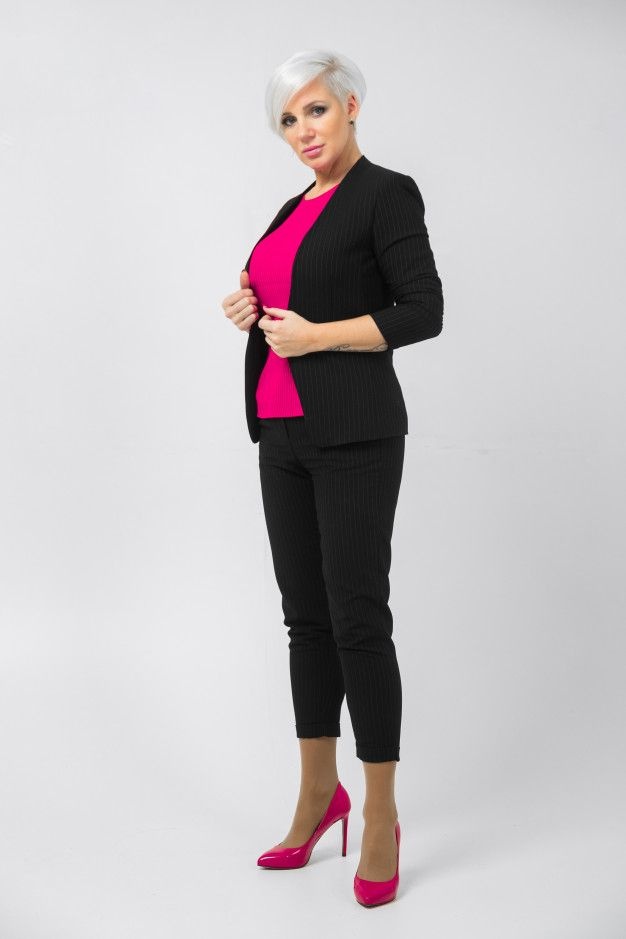
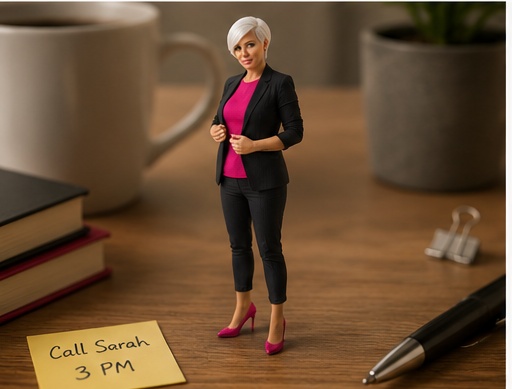
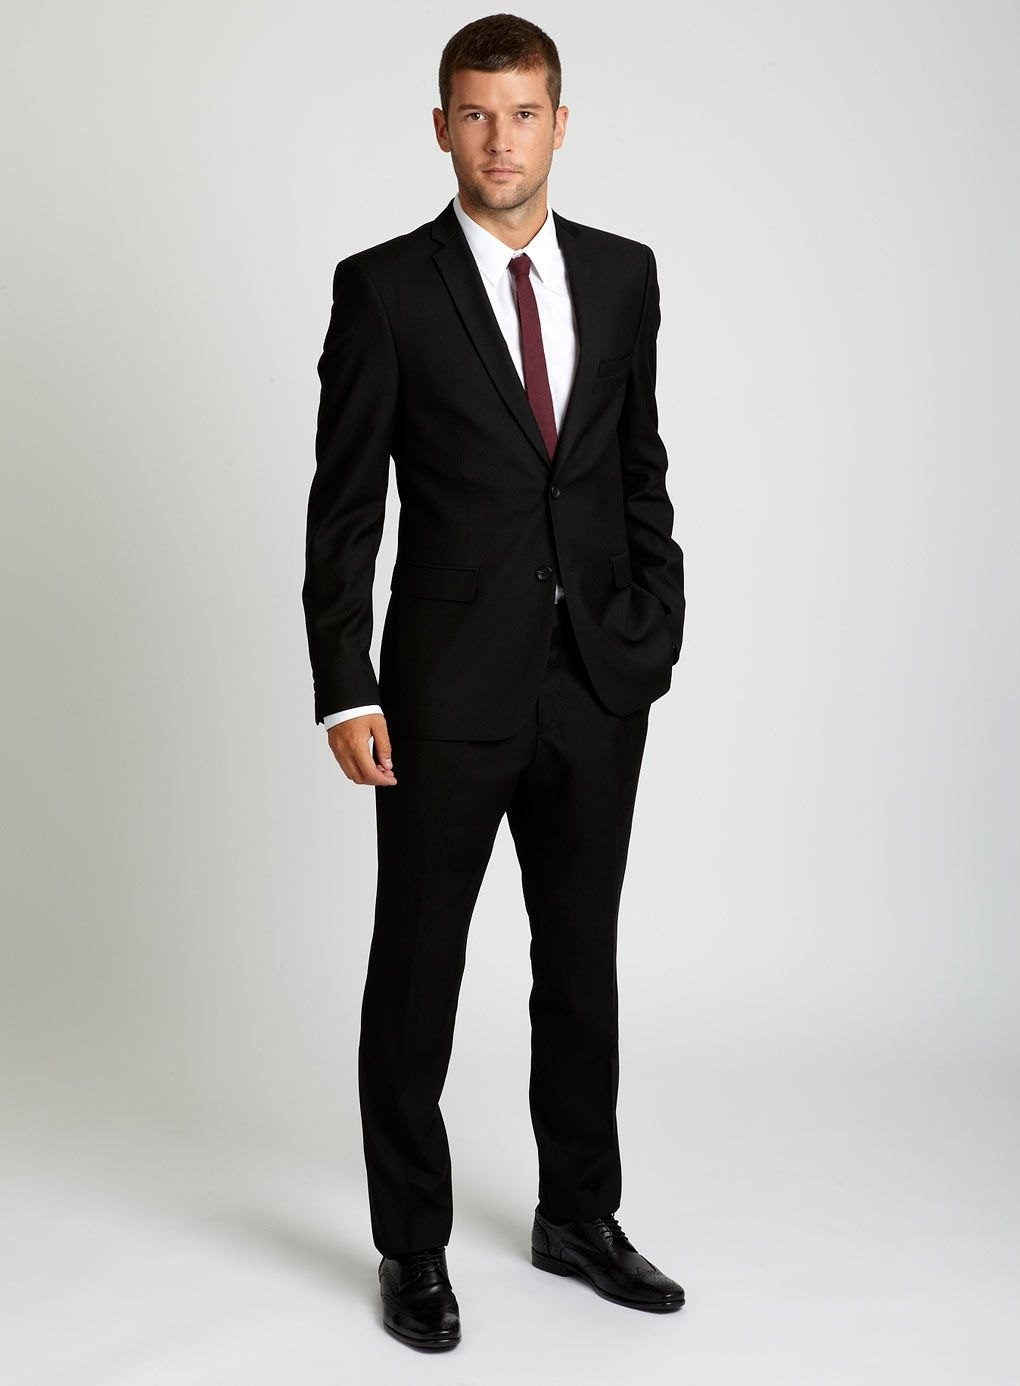
Source portrait example 1 for realistic miniature person desk prompt
Source reference 1
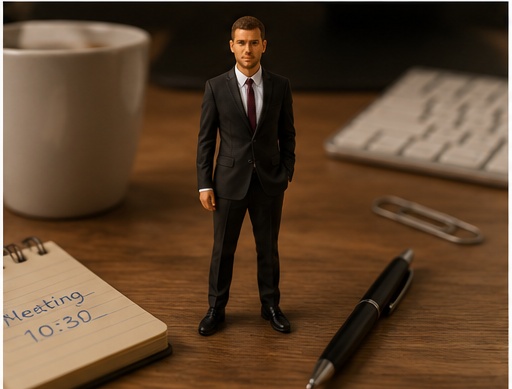
Generated realistic miniature desk result example 1
Generated result 1
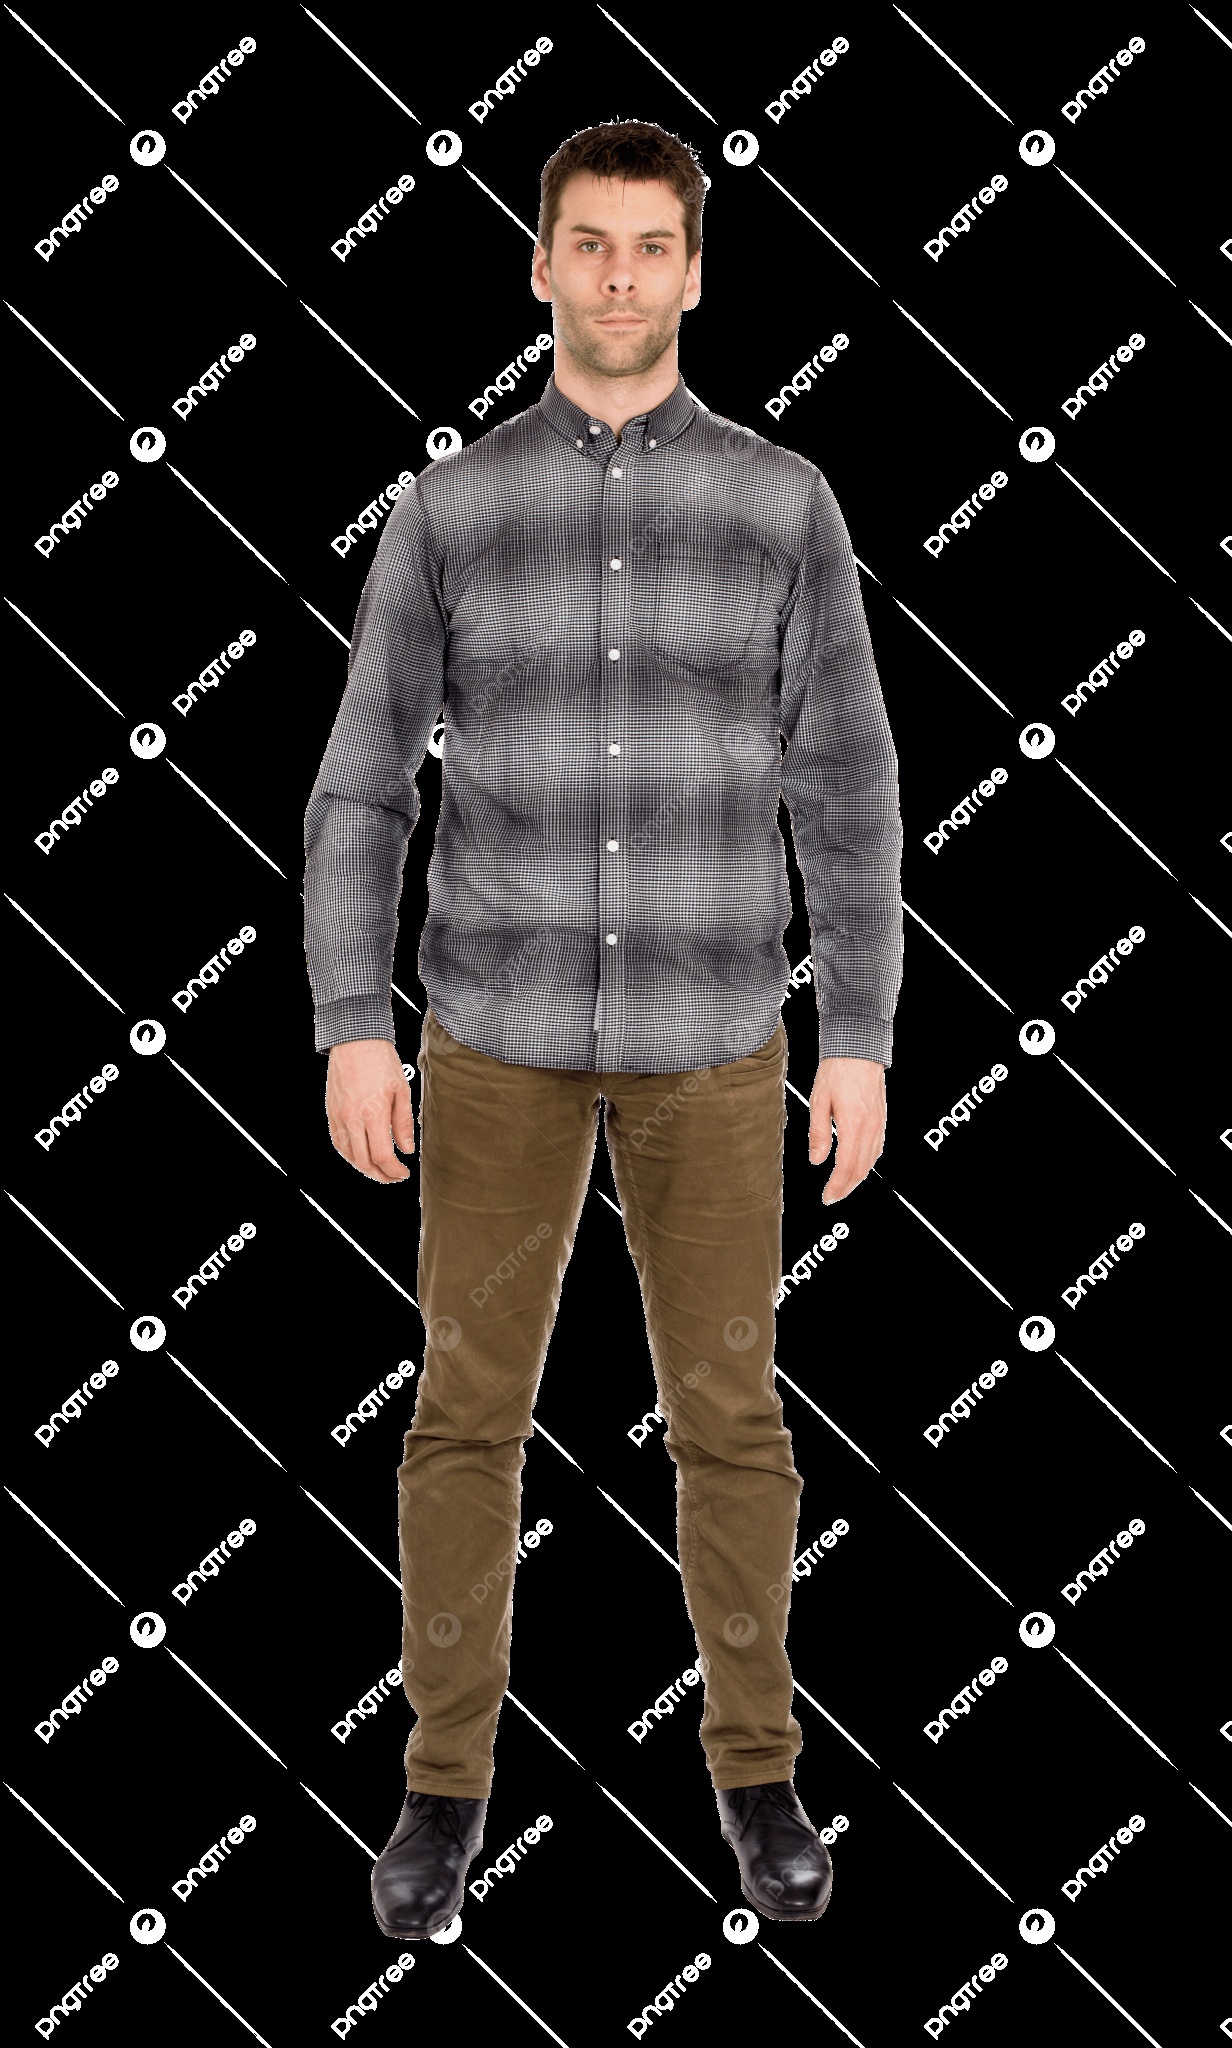
Source portrait example 2 for realistic miniature person desk prompt
Source reference 2
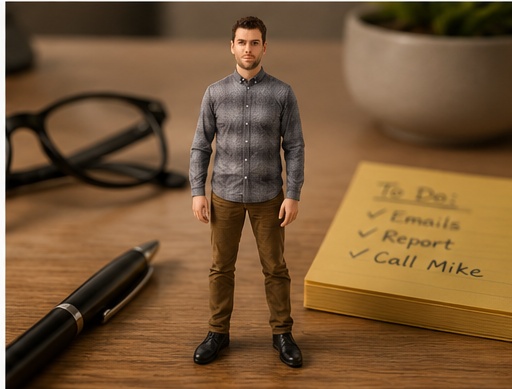
Generated realistic miniature desk result example 2
Generated result 2
Source portrait example 3 for realistic miniature person desk prompt
Source reference 3
Generated realistic miniature desk result example 3
Generated result 3
Before prompt
Uploaded portrait photo with visible face, hairstyle, outfit colors, and expression used as the reference.
After prompt
Create a realistic miniature version of the person from the uploaded photo standing on a desk next to everyday objects. Keep the face, hairstyle, outfit colors, accessories, and overall expression recognizable, but make the person feel tiny through strong scale contrast with normal desk items such as a pencil, mug, notebook, keyboard, paper clips, or camera gear. Use realistic contact shadows under the feet, natural desk-surface lighting, shallow depth of field, macro-style perspective, believable fabric and skin texture, and a playful behind-the-scenes photography look. Make it feel like a real candid photo of a tiny person on a desk, not a toy figure, not a cartoon, and not a plastic figurine.

Analysis

The improved prompt preserves recognizable face and outfit cues while using desk objects, macro perspective, contact shadows, shallow depth of field, and playful behind-the-scenes photography to make the person feel realistically tiny.

What changed in the improved prompt

The improved prompt adds the details that image models need to make consistent decisions: a clearer subject, stronger style direction, camera or composition cues, lighting, background control and quality constraints. Instead of asking for a broad image, it explains what should stay recognizable and what should change in the final result.

Why the weak prompt fails

A weak prompt often fails because it asks for an outcome without describing the visual recipe. If the model is not told about pose, framing, materials, expression, shadows or the intended style, it may create a generic image, lose important identity details, distort hands or invent background elements that do not support the idea.

Prompt formula used here

Use this formula: uploaded image or subject reference + transformation goal + recognizable details to preserve + style and mood + lighting and camera + composition + quality constraints + negative prompt. This structure works for before and after AI prompts because it separates the creative change from the details that must remain stable.

How to adapt this prompt

Replace the subject and reference details with your own image. Keep the strongest style instructions from the improved prompt, then adjust the setting, color palette, camera angle and final format. If the result becomes too stylized, add realistic texture, natural light and identity-preserving details. If the result is too plain, strengthen the style, pose or editorial direction.

Common mistakes

  • Using a short command without camera, lighting or background details.
  • Forgetting to say which facial features, product proportions or outfit colors should stay recognizable.
  • Mixing several visual styles that compete with each other.
  • Leaving out negative prompts for bad hands, distorted faces, fake text, warped logos or messy backgrounds.

Related prompt examples

The important lesson is not only the wording of the improved prompt, but the amount of visual control it gives the model. Use the weak version as a reminder of what is missing, then use the improved version as a checklist for clearer AI image prompt writing.

What is the main improvement in this before and after AI prompt?

The improved prompt gives the model clearer instructions about subject, style, lighting, composition and output quality, so the result is more controlled than the weak prompt.

Why does the weak prompt fail?

The weak prompt is usually too short or vague. It leaves the model to guess the visual style, camera angle, background, proportions and quality constraints.

Can I adapt this prompt for my own image?

Yes. Keep the prompt structure, then replace the subject, reference details, setting, lighting and style with details from your own uploaded photo or image idea.

Where can I copy the full prompt example?

Use the related prompt page for Realistic Miniature Person on Desk Prompt when available, or copy the improved prompt directly from this before and after example.

Related resources