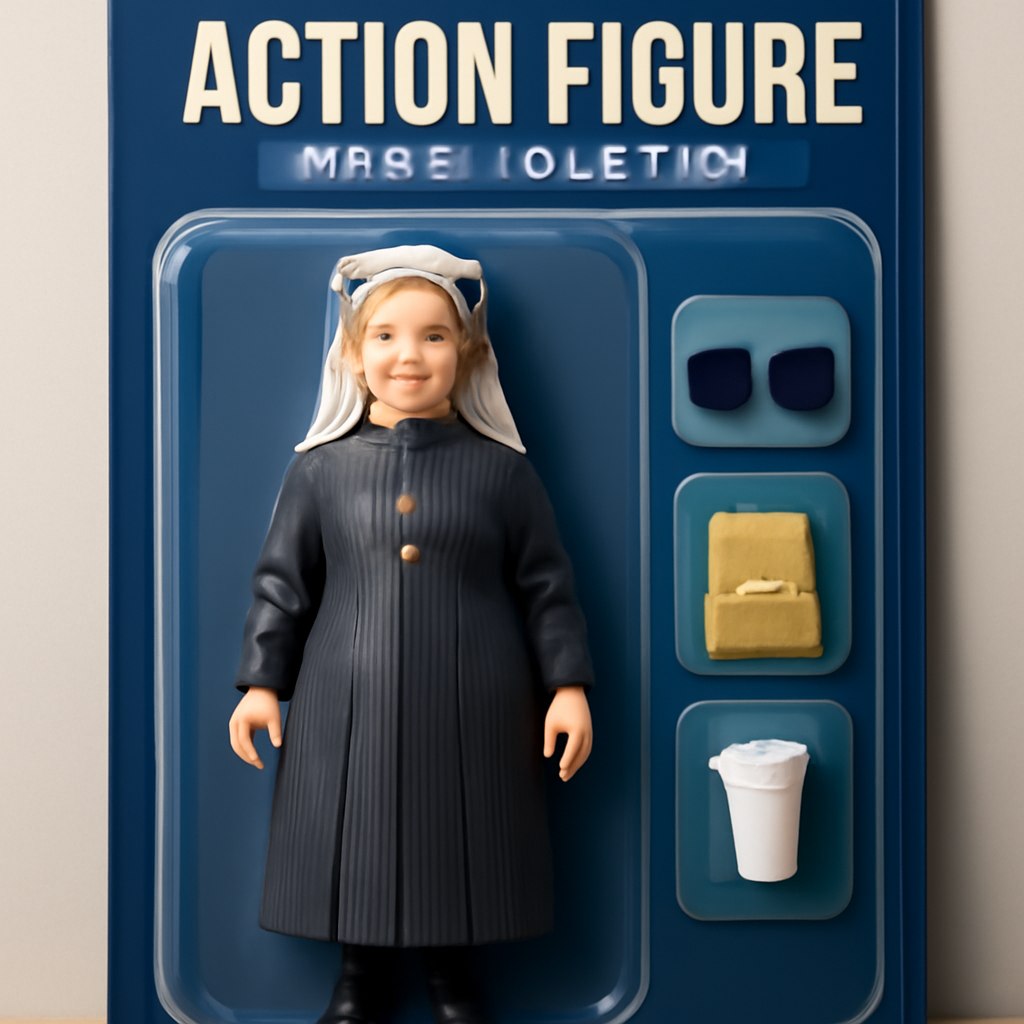
This prompt guide shows how to turn a personal reference photo into a stylized collectible action figure inside a clear plastic blister pack. The goal is not just to make a toy version of the subject, but to create a complete retail-ready product image: full-body figure, molded tray, header text, subheading, accessory compartments, packaging colors, and shelf lighting. The examples below show how outfit colors and visible props can guide the packaging design. Use this structure when you want a result that feels like a premium toy product instead of a simple portrait filter.
Original Prompt Idea Summary
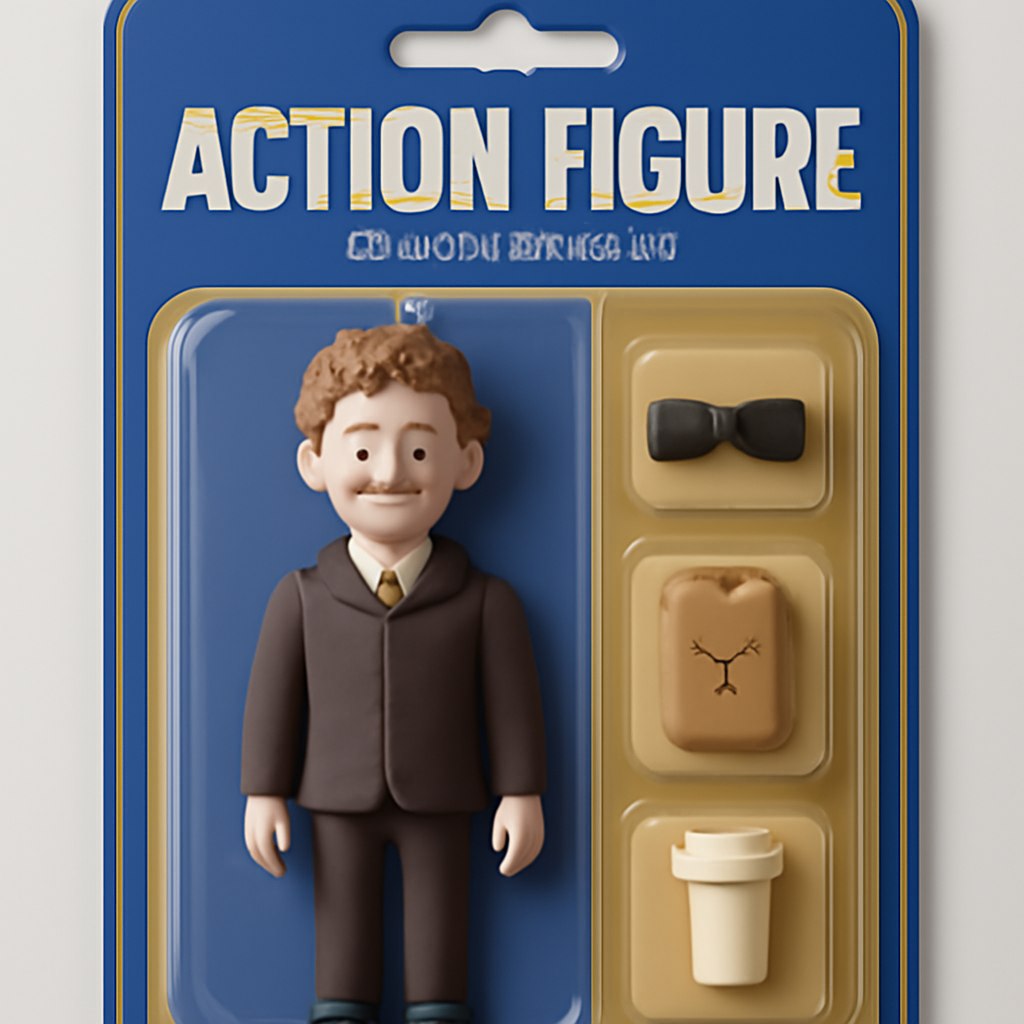
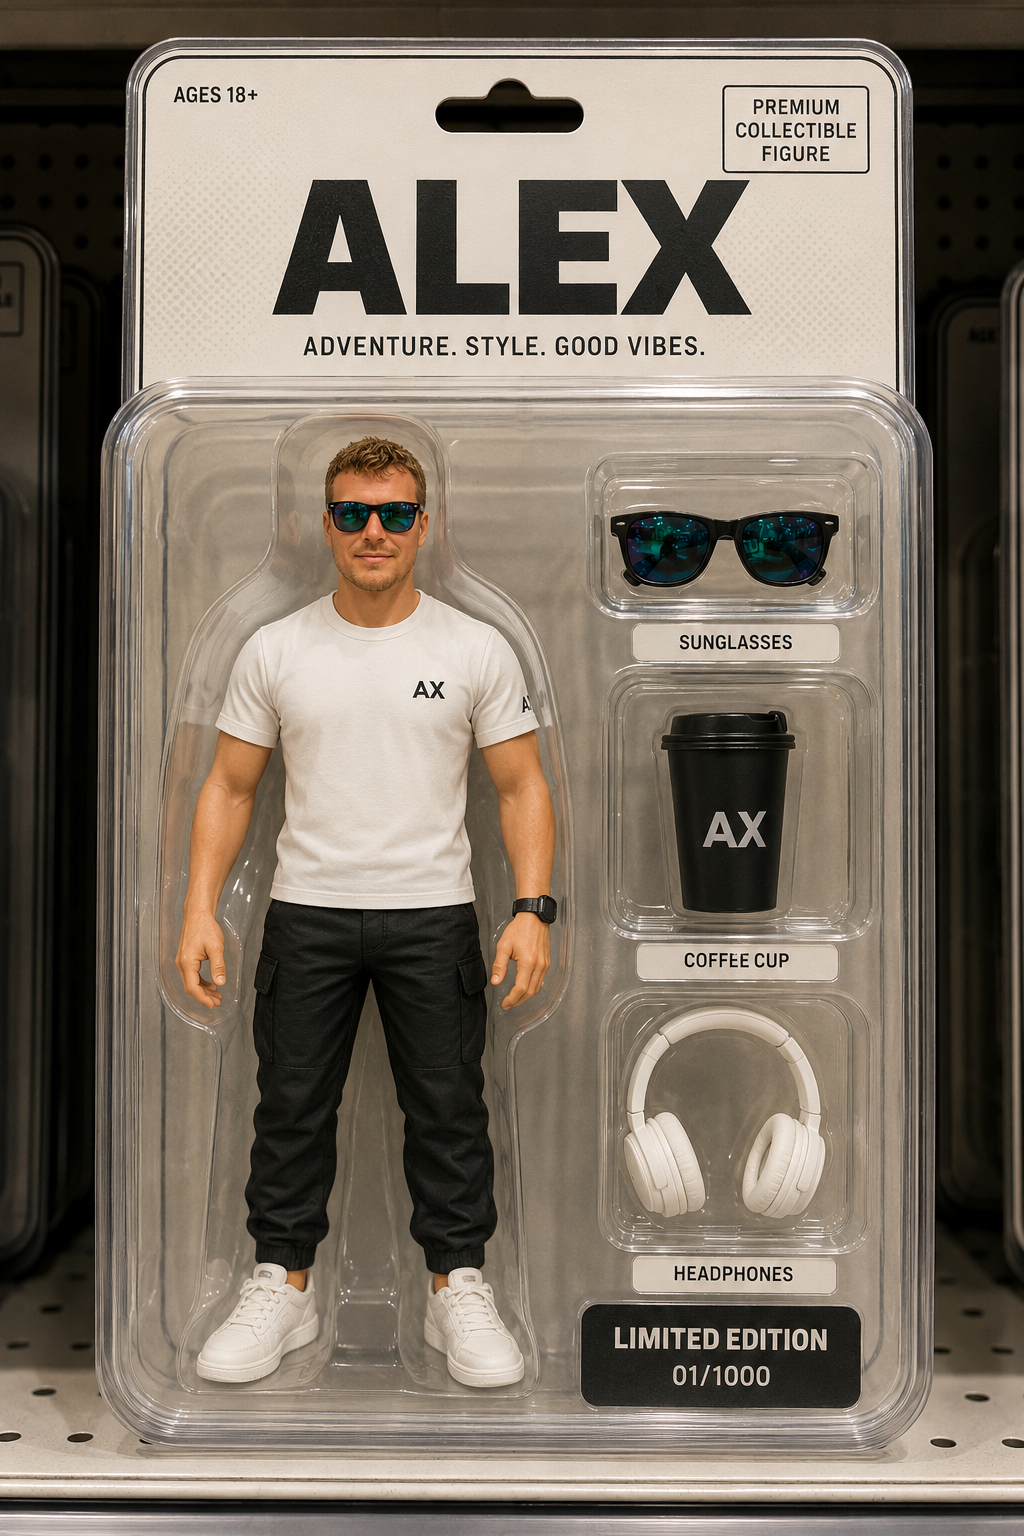
The original idea asks for a personal photo to become a premium collectible action figure in plastic blister packaging. The figure should stand upright, keep recognizable facial features, wear a friendly expression, and include a large name header, subheading, and three accessories in side compartments. The packaging color scheme should match the outfit in the reference photo, and the final image should look like a professionally lit retail shelf product.
Improved Prompt
Use the provided portrait photo as the character reference and create a stylized premium collectible action figure in a clear plastic blister pack. Keep the face recognizable from the reference while making the figure toy-like, friendly, and relaxed, with a natural smile and upright full-body pose inside the molded plastic tray. Match the packaging colors to the outfit in the photo and design the card back like a retail-ready collectible product. Add a bold header with the action figure name, a short subheading underneath, and three separate accessory compartments beside the figure. Each accessory should relate to visible cues from the photo, such as sunglasses, cycling gear, a backpack, a coffee cup, headphones, a medal, or a water bottle. Use professional product photography lighting, sharp packaging details, clean reflections on the blister plastic, realistic shelf depth, and readable label areas.Negative Prompt
uncanny face, unrecognizable face, distorted facial features, wrong outfit colors, extra limbs, broken hands, fused fingers, warped plastic, unreadable labels, misspelled header, cluttered packaging, floating accessories, missing blister compartments, flat lighting, messy retail shelf, low resolution, over-smoothed toy texture, real person instead of toy figure, open box, damaged packaging, watermark, logo artifacts, random textSource and Result Image Gallery
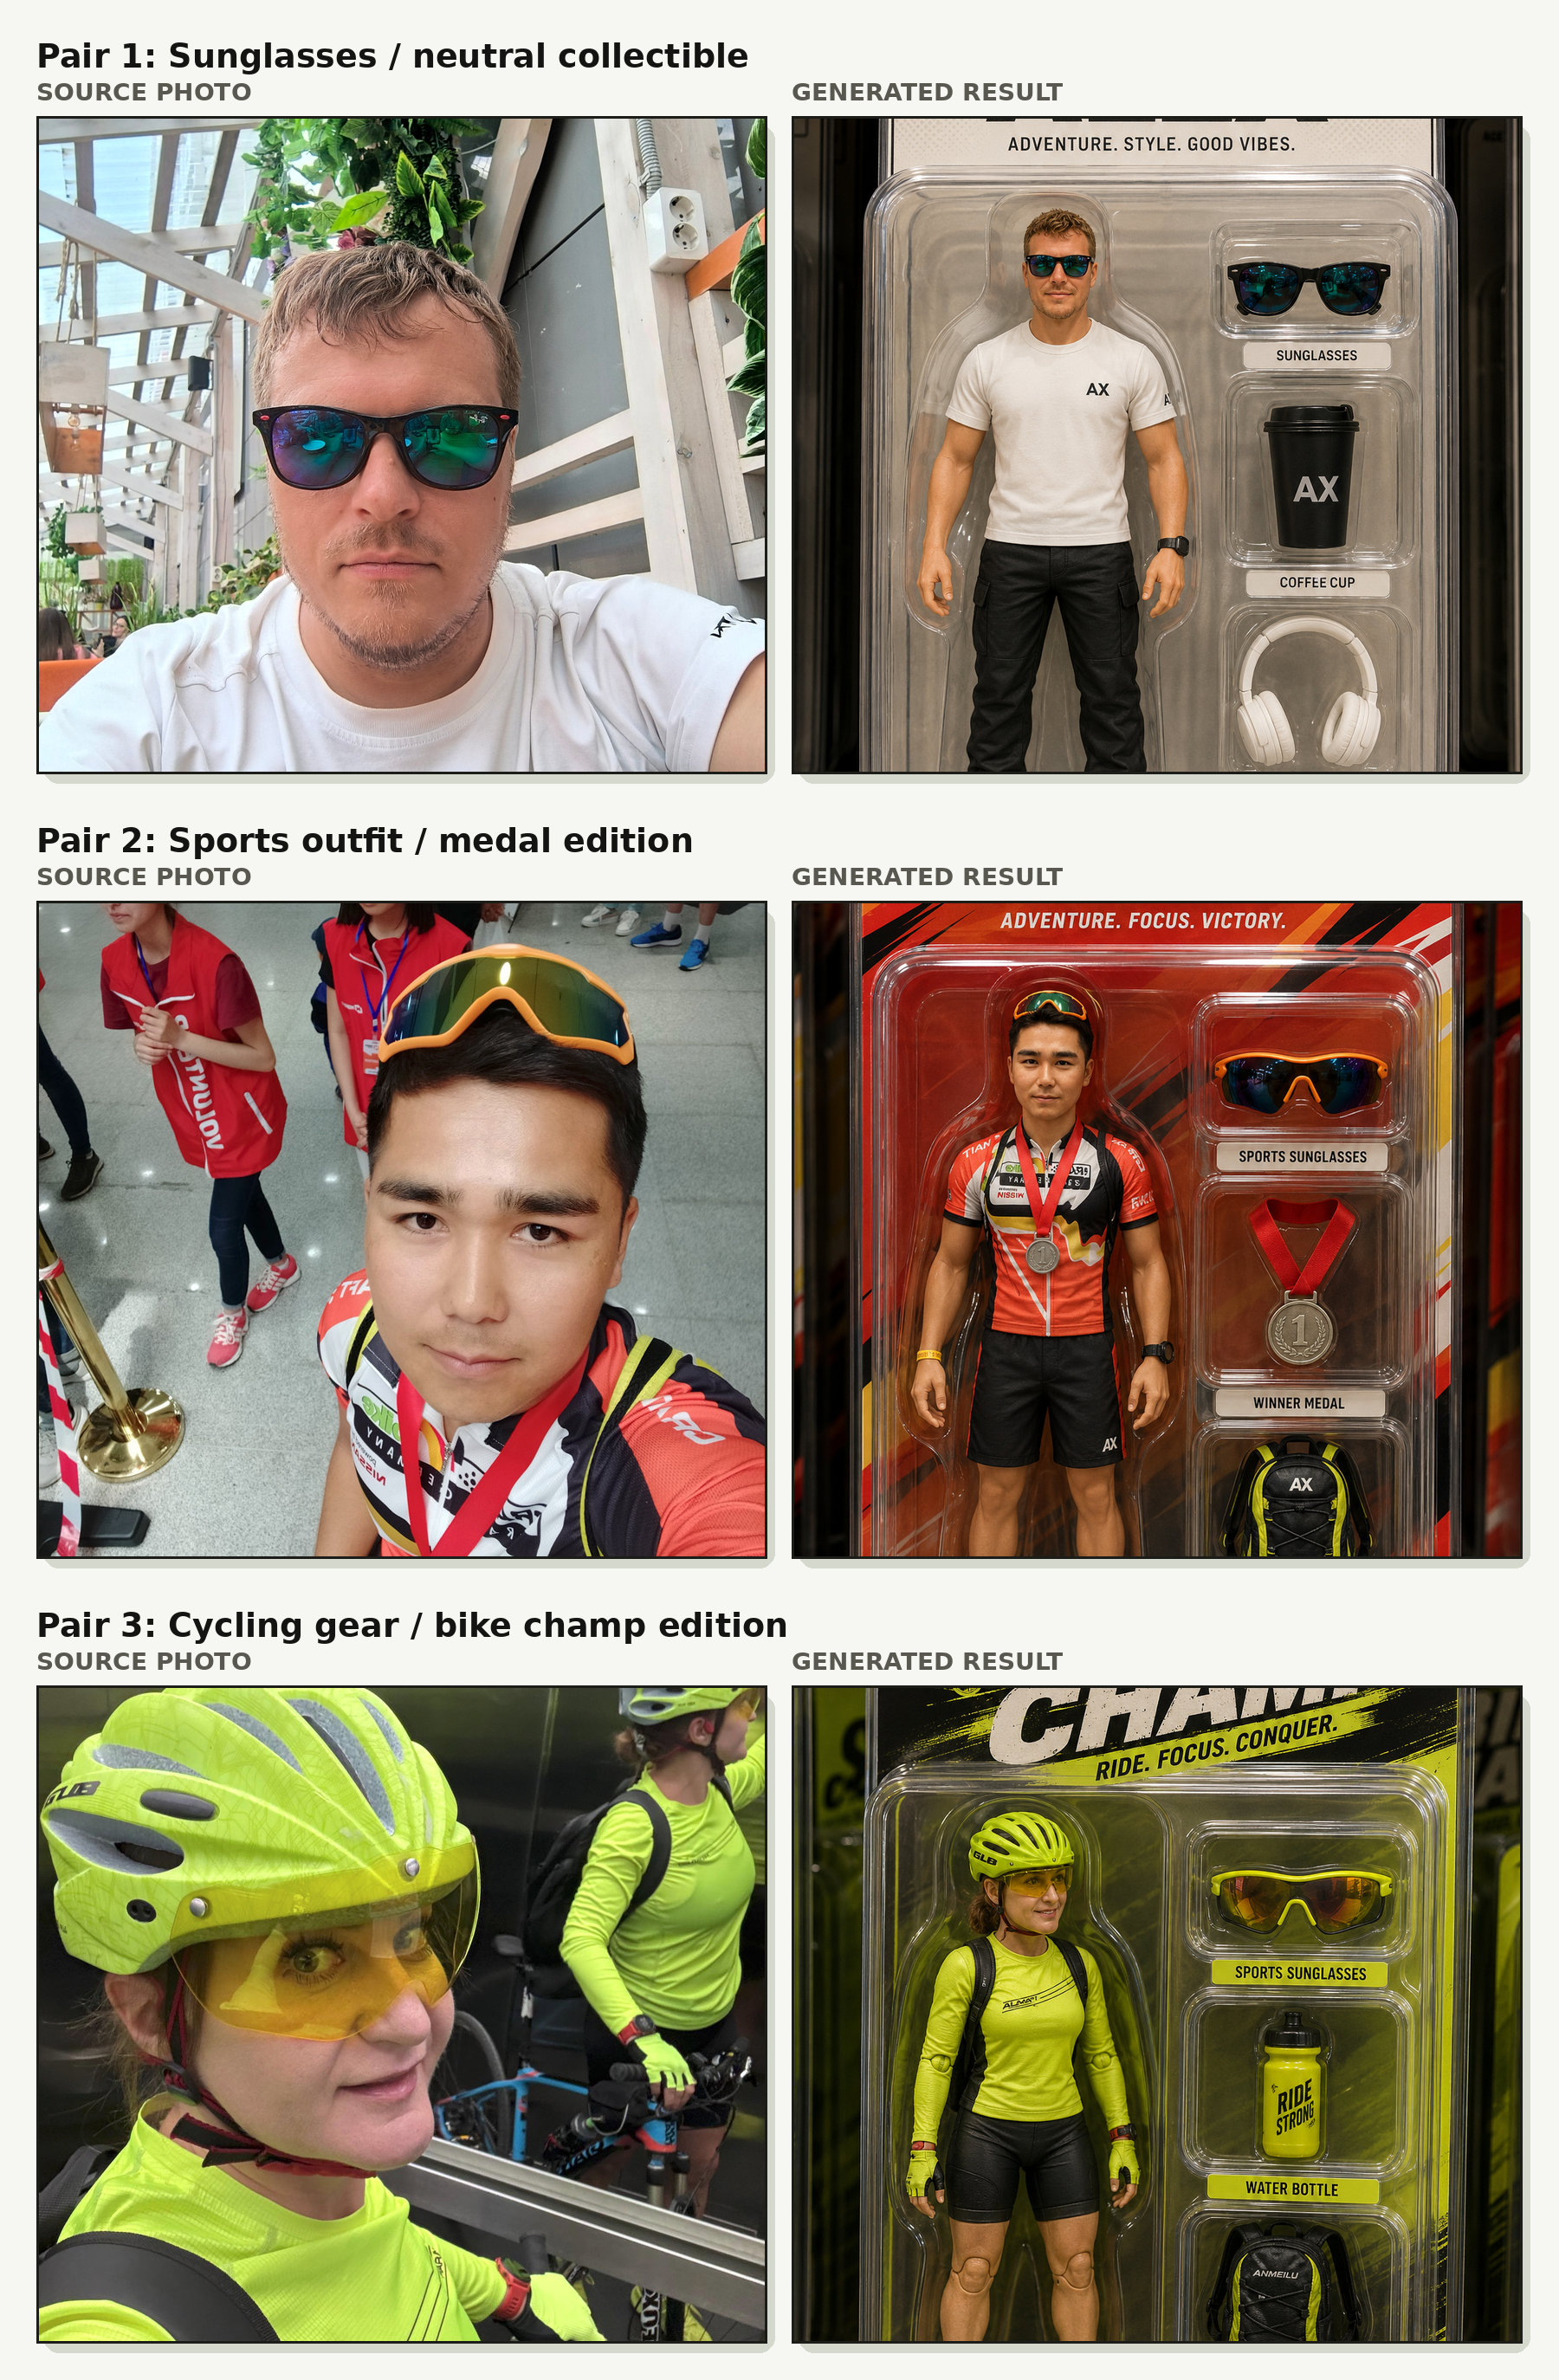
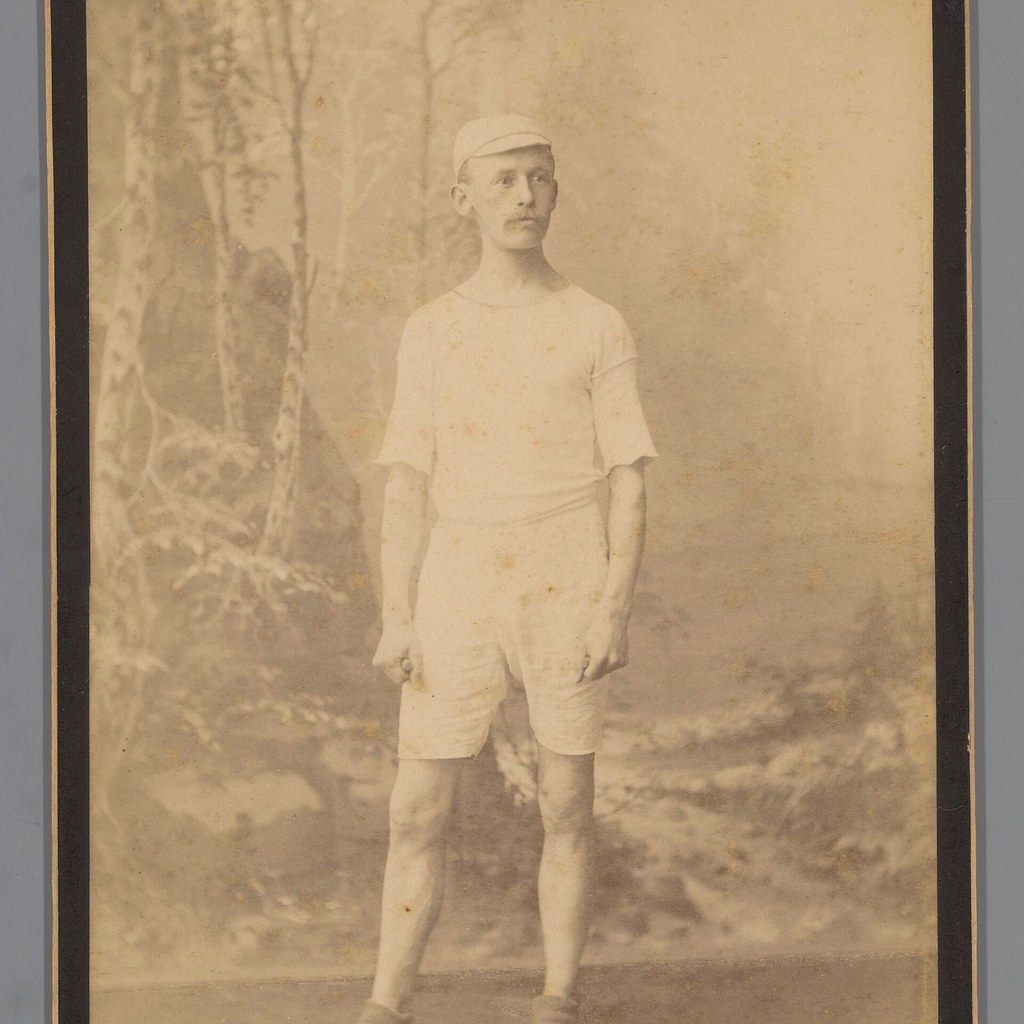
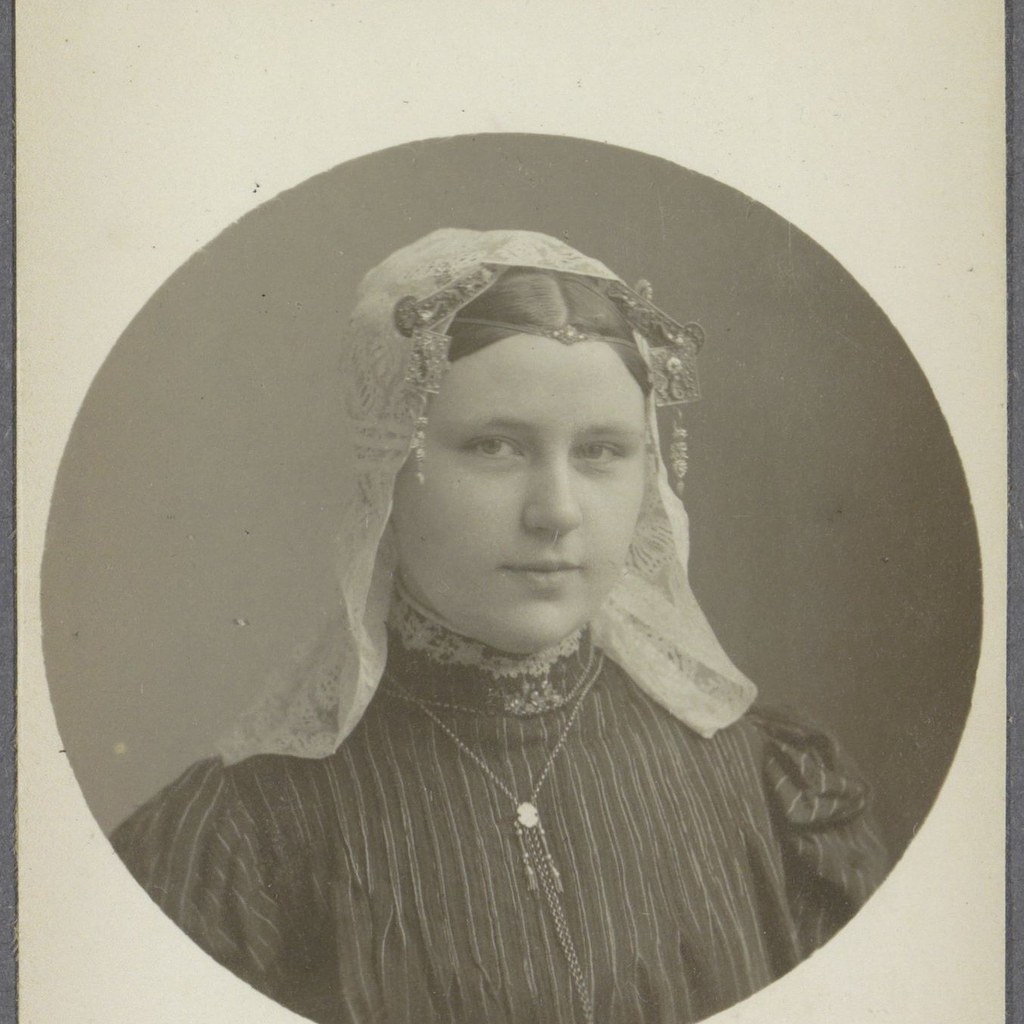
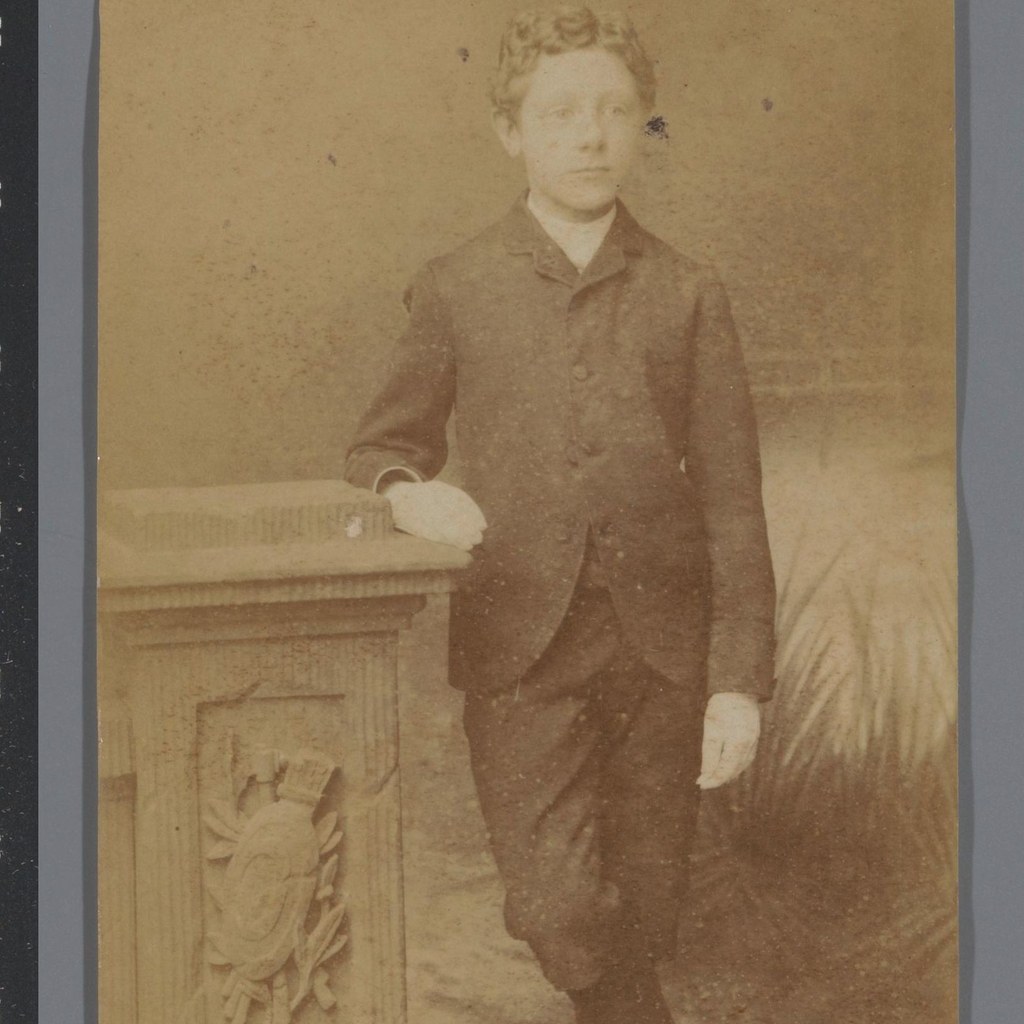
Pair 1: neutral outfit to premium collectible figure

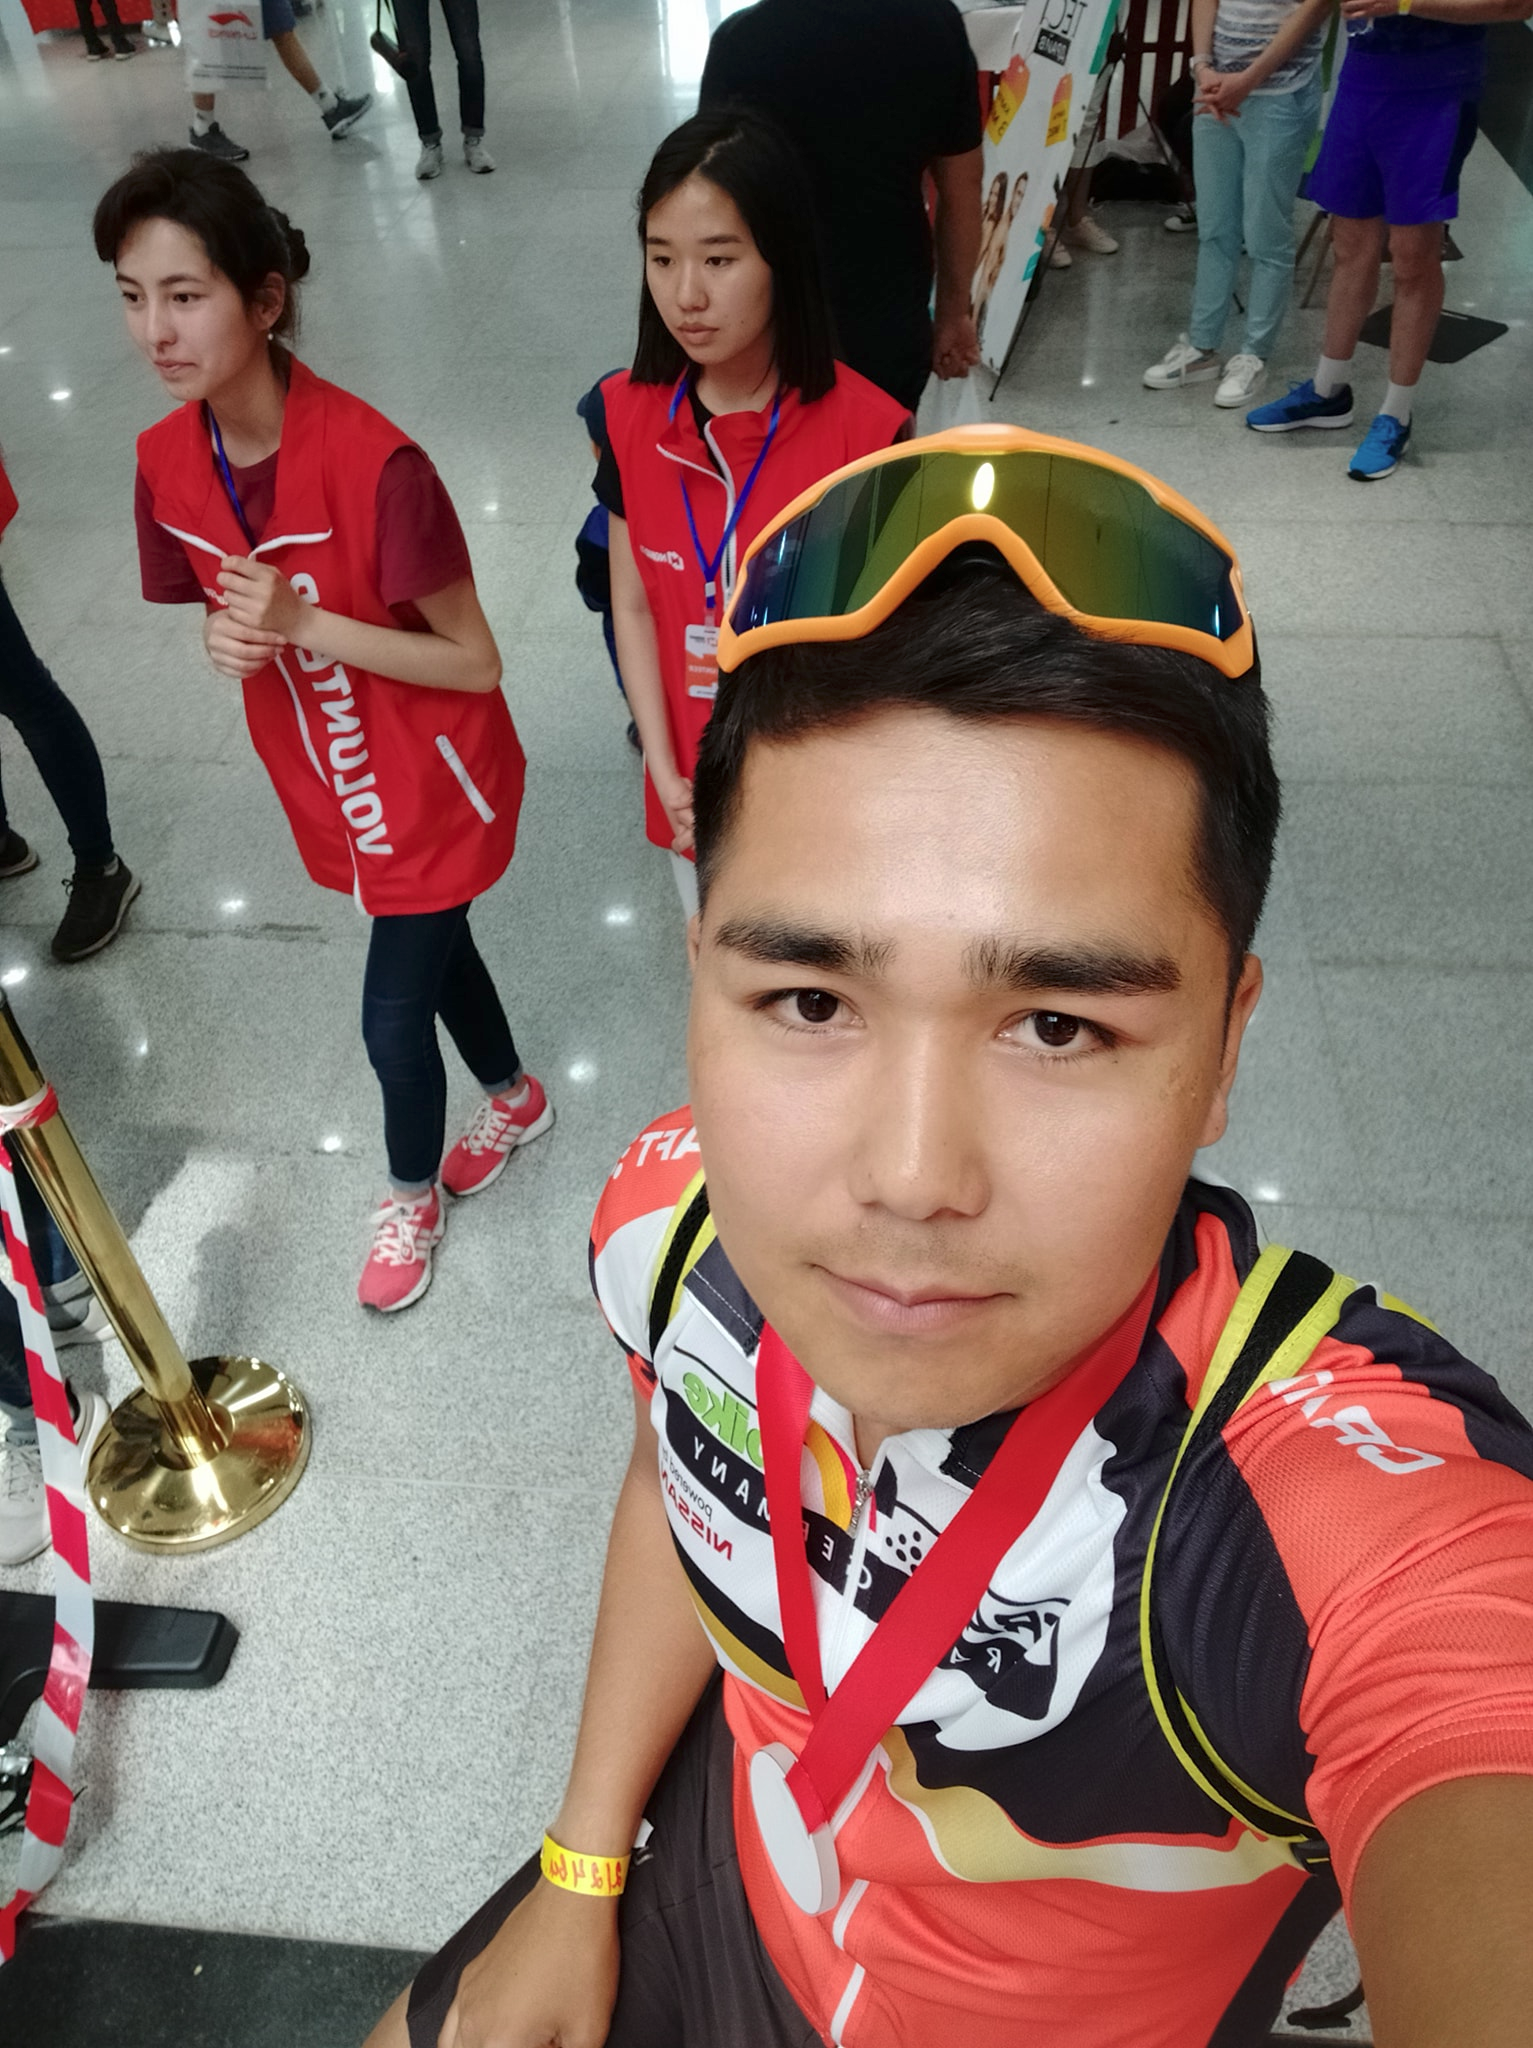
Pair 2: cycling outfit to sports collectible packaging
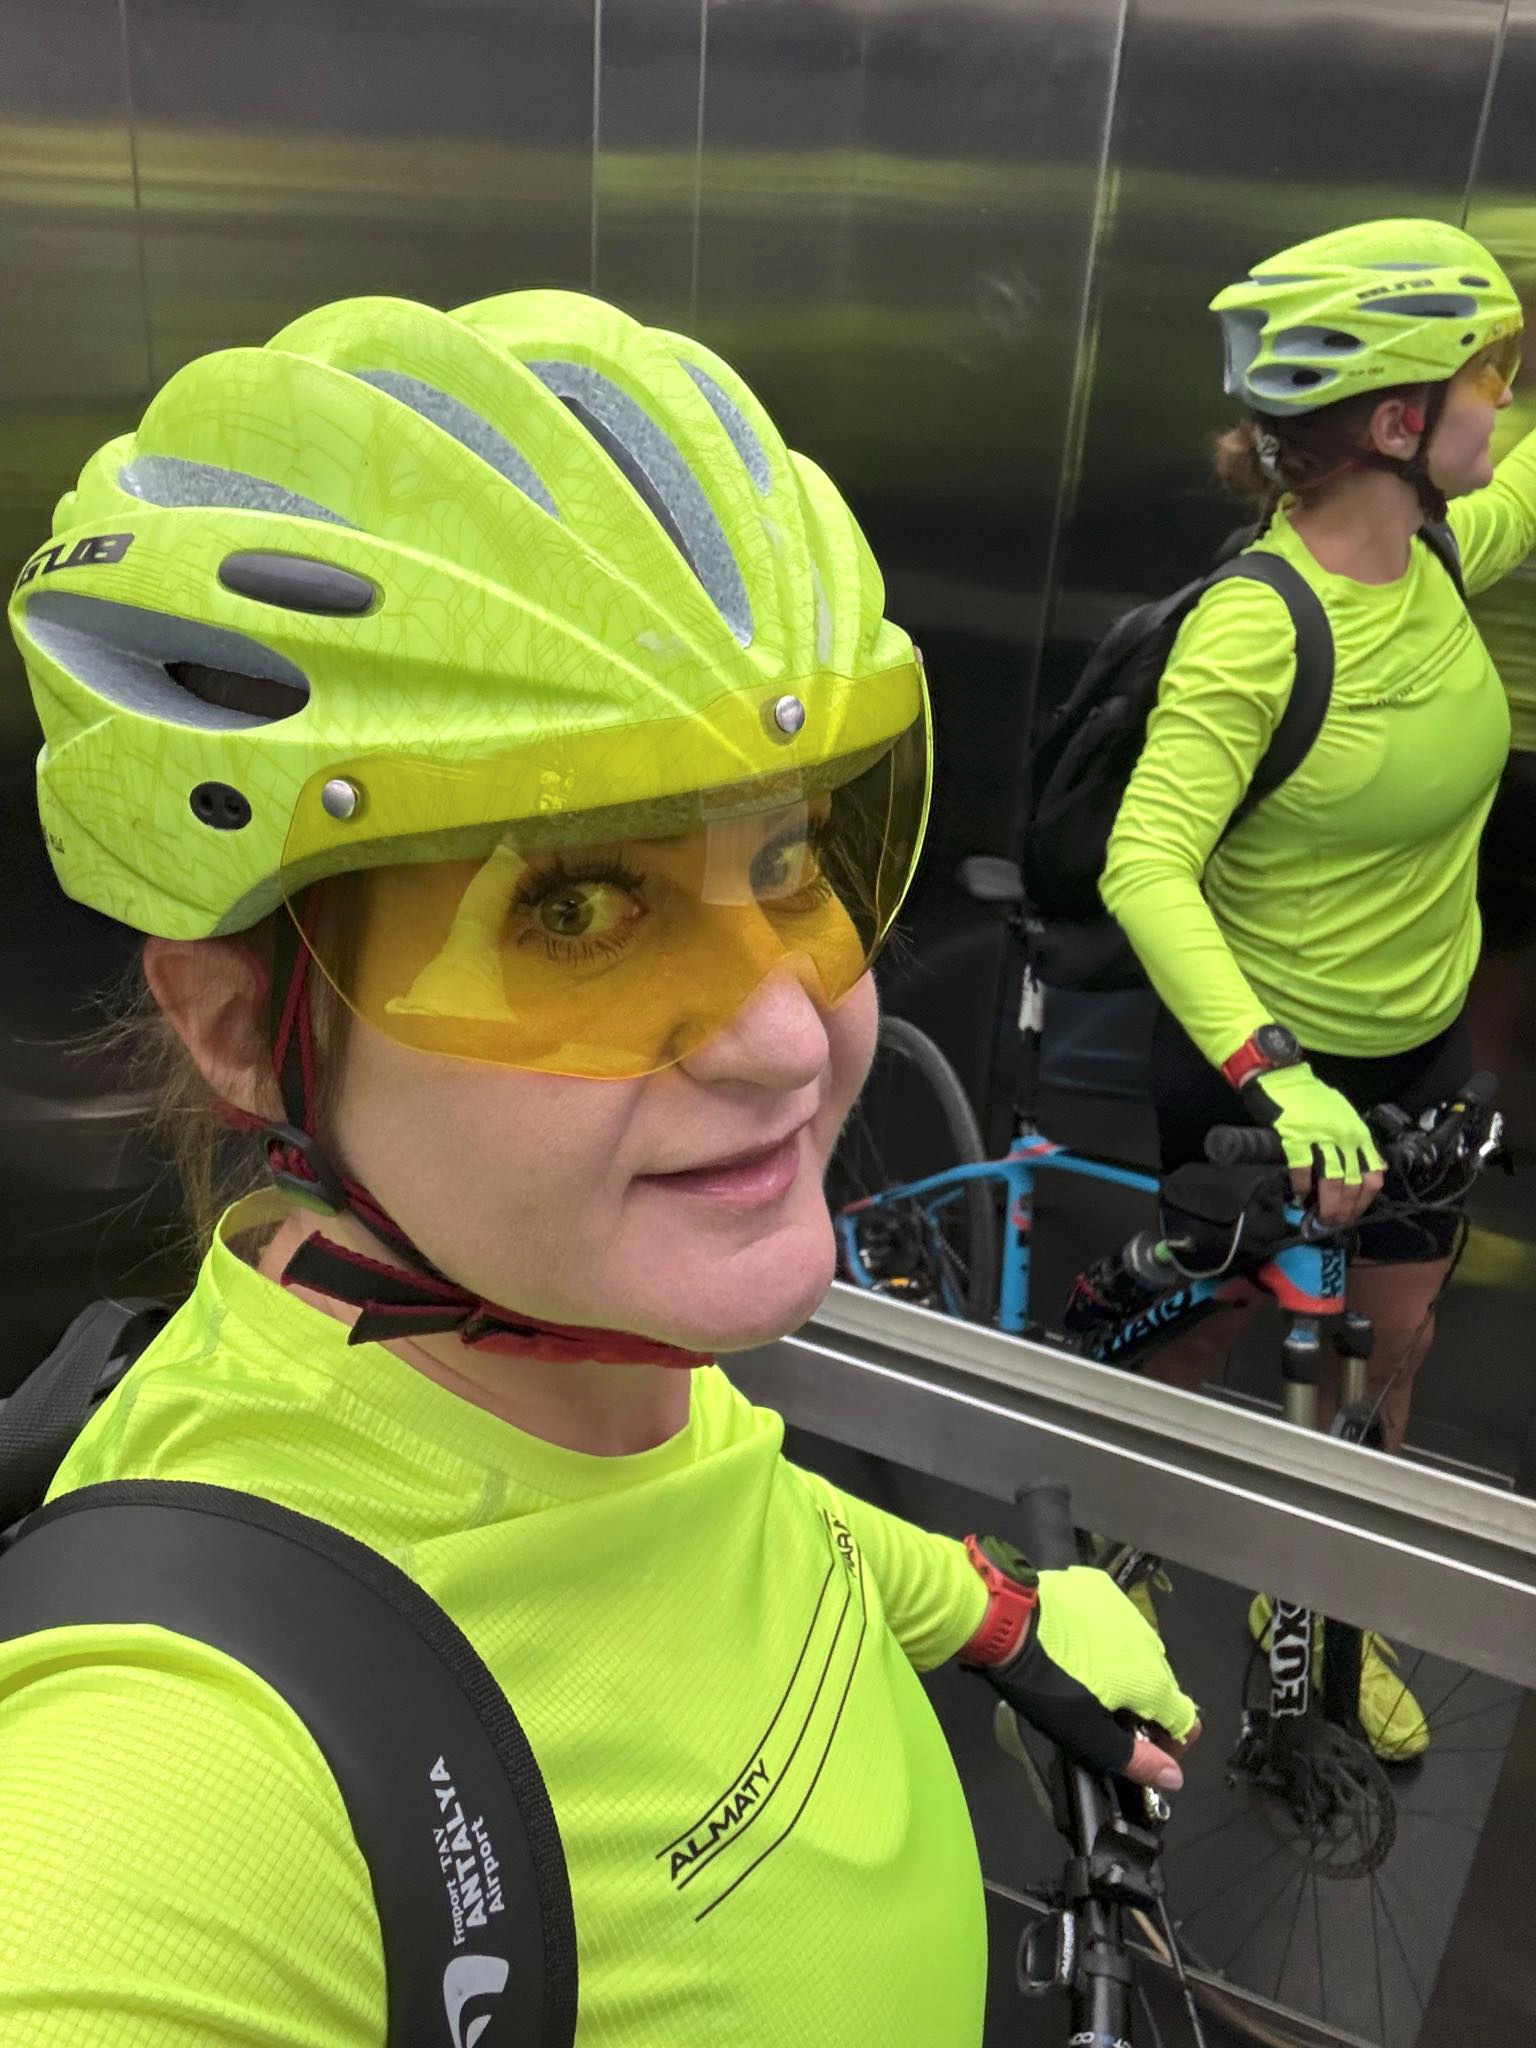
Pair 3: neon cycling gear to bike-themed action figure
Result Image Analysis
The first result is the cleanest general collectible toy layout. The figure is upright, the plastic blister is readable, and the accessory compartments are clearly separated. The light outfit is reflected in the cleaner neutral packaging, while the sunglasses become both a figure detail and an accessory.
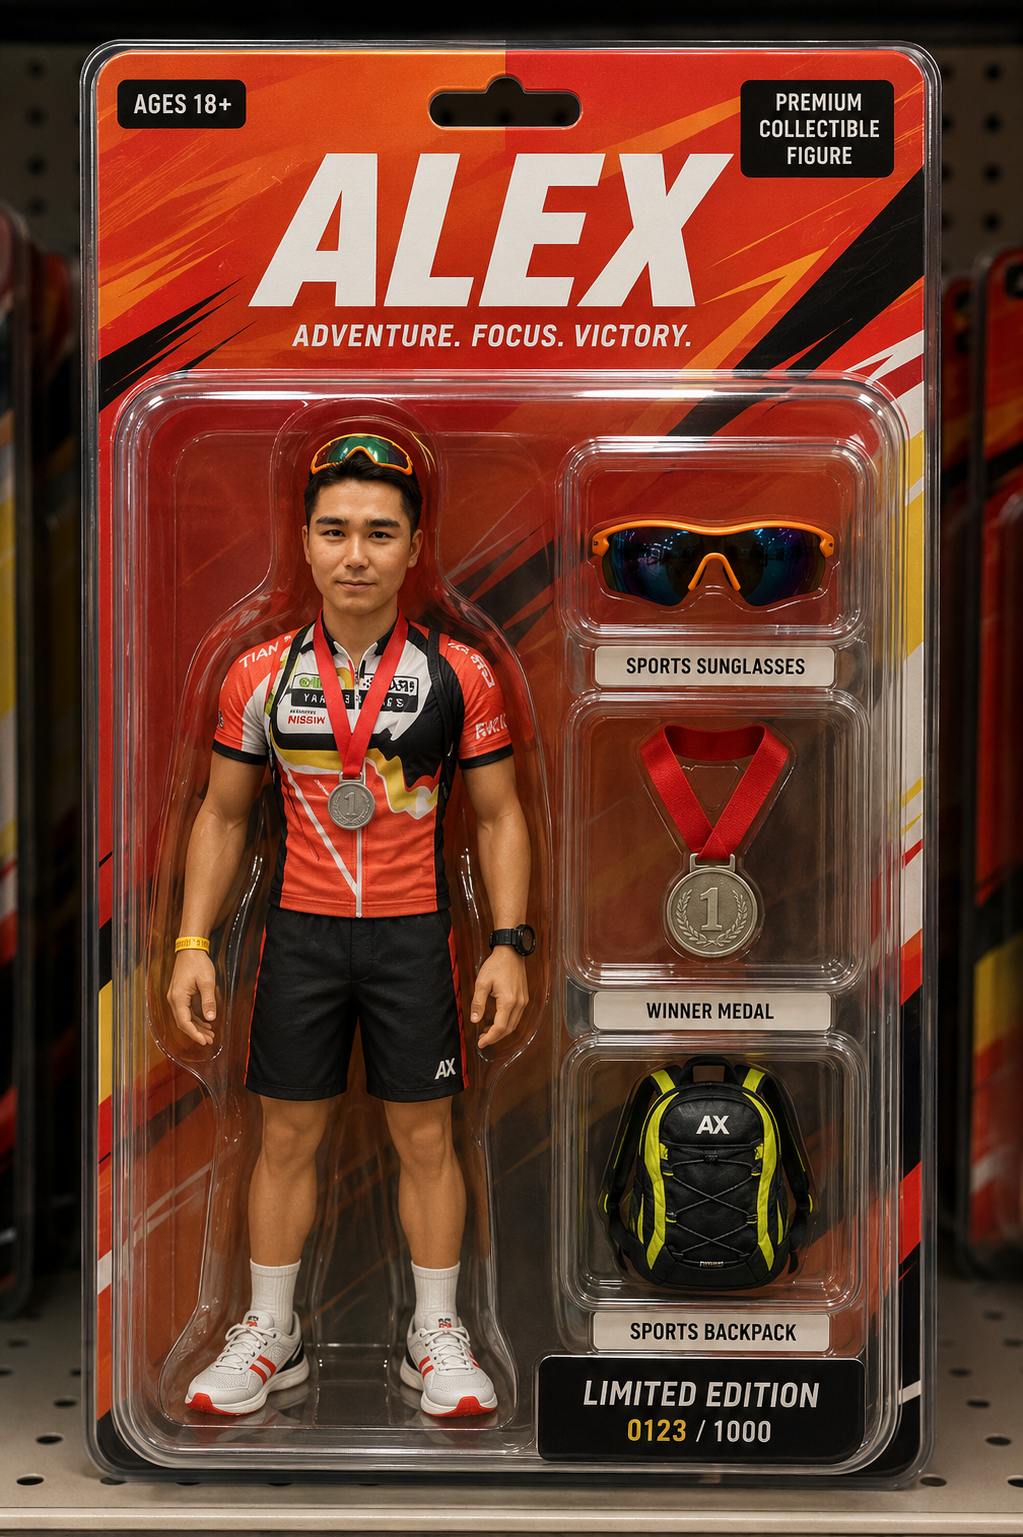
The second result responds strongly to the sports outfit. The red and black packaging matches the visible clothing colors, and the medal and backpack accessories make sense for the source image. The header and labels are mostly readable, although small typography in generated packaging can still drift or become inconsistent.
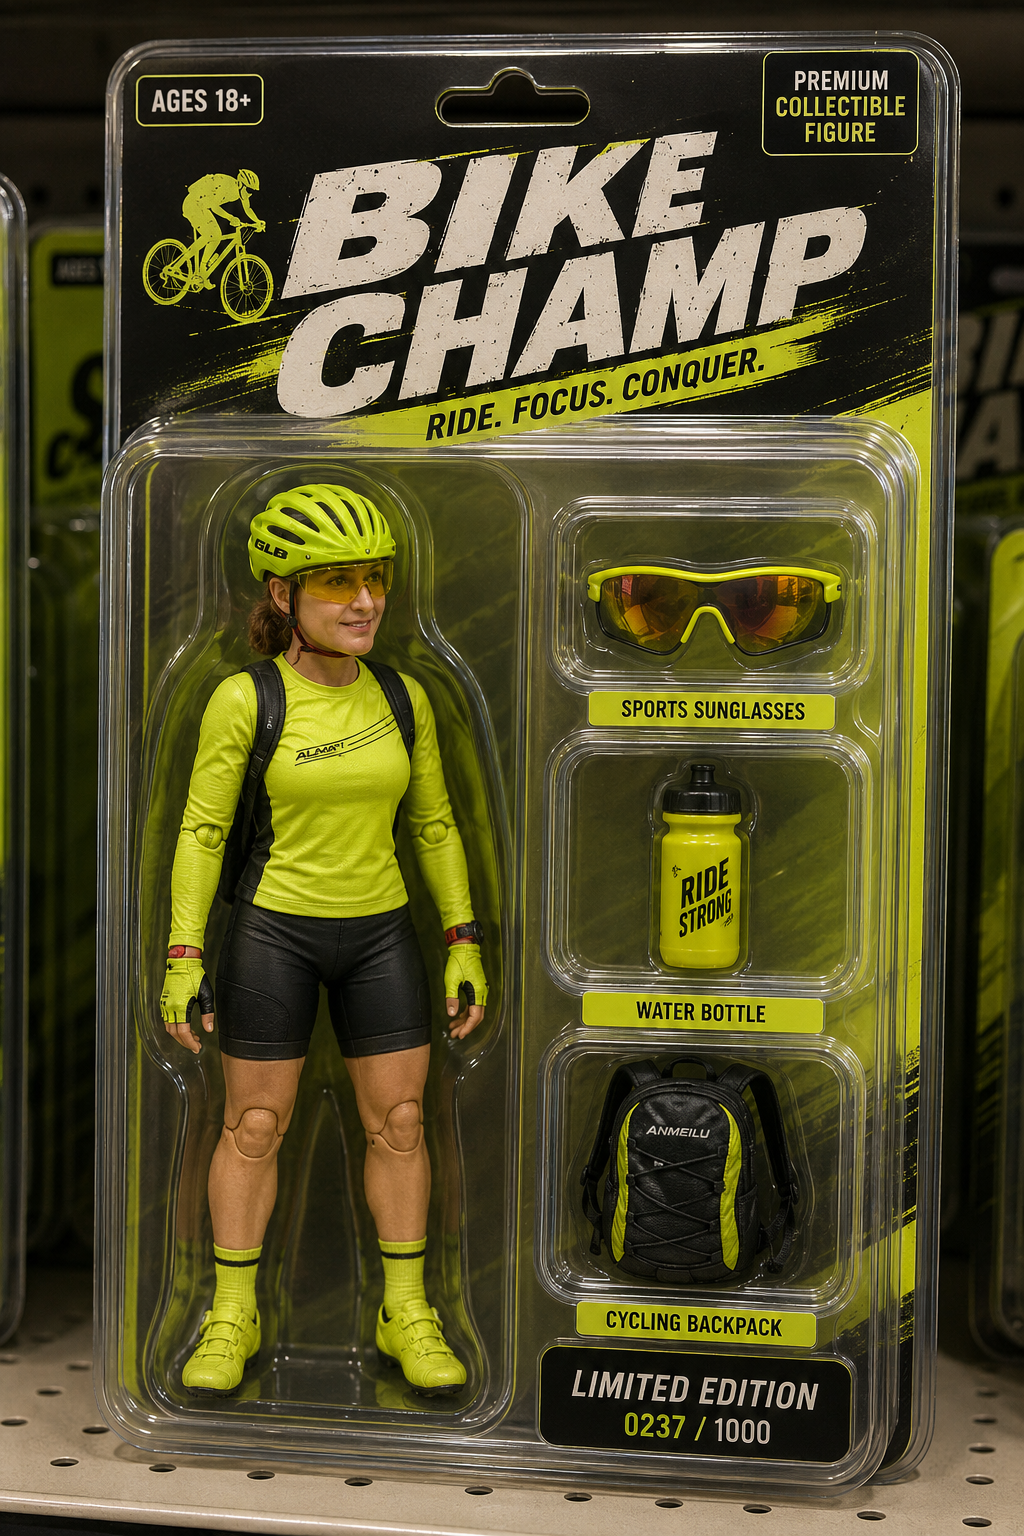
The third result is the most visually coherent for a cycling collectible. The neon yellow outfit becomes the dominant package palette, and the accessories follow the cycling theme. The shelf lighting, blister reflections, and bold header help the image read as a product photo rather than a character portrait.
Recommended Settings
- Mode: image-to-image or image reference editing
- Model: ChatGPT or Unknown if the tool is not specified
- Aspect ratio: vertical 2:3 or 4:5 for retail packaging
- Style: premium collectible toy, product photography, realistic blister plastic
- Text control: keep header and accessory labels short for better readability
- Quality pass: inspect hands, facial likeness, label spelling, plastic edges, and accessory placement
Why This Prompt Works
The prompt gives the model a product-design brief instead of only asking for a toy version of a person. It defines the figure, packaging, accessories, color scheme, lighting, and retail context. That structure helps the model organize the composition: figure on one side, accessories in compartments on the other, strong header at the top, and product shelf environment around the package.
Prompt Variations
- Minimal collector edition: Use matte black packaging, one accent color from the outfit, and three premium accessories.
- Sport edition: Emphasize jersey colors, medal, sunglasses, bottle, bike, backpack, or helmet accessories.
- Office desk edition: Replace accessories with laptop, coffee cup, notebook, and clean neutral packaging.
- Retro toy aisle edition: Add illustrated card art, bold 1980s typography, and warm shelf lighting.
Common Mistakes
- Using long headers or long accessory labels that become unreadable.
- Forgetting to ask for separate molded compartments for each accessory.
- Letting the result become a real person in a package instead of a toy-like action figure.
- Ignoring outfit colors, which makes the packaging feel disconnected from the source photo.
- Not checking hands, joints, plastic reflections, and small text after generation.
FAQ
What makes this action figure prompt work?
It separates character likeness, toy styling, packaging layout, accessories, color matching, and product photography into clear instructions.
Should the action figure look exactly like the source photo?
It should stay recognizable, but the result should look like a stylized collectible toy rather than a literal portrait cutout.
How do I choose accessories?
Use items that are visible in the photo or strongly implied by the outfit, activity, or scene, such as sunglasses, cycling gear, headphones, a bottle, or a medal.
Why ask for a retail shelf background?
A shelf setting gives the image product-photography context and makes the blister pack feel like a finished collectible item.
Related Internal Links
- AI image prompt generator for building structured image prompts.
- Negative prompts for reducing text, anatomy, and packaging artifacts.
- AI image prompts for reusable prompt examples.
- Before and after prompt examples for source/result comparisons.
- ChatGPT prompts and ChatGPT image prompts for broader prompt workflows.
- Portrait AI prompts for reference-photo transformations.
Real source and result examples
These examples show how the prompt changes real source portraits into generated results. The comparison focuses on visible style, composition, and output behavior.